GU Lock Ring Conversion - How To
-
Tagged with:
- Differential
Table of Contents
The following photos and description were made by user 4x4falcon and posted in the following thread: http://www.nissanpatrol.com.au/forums/showthread.php?17573-GU-wheel-bearing-locknut-and-washer-install-in-GQ. The photos specifically apply to a GQ, but the process is near identical to an MQ.
The following steps and photos are much the same as the wheel bearing swap guide at Front Diff Rebuild - Stage 1 (Wheel Bearings).
Preperation
| Step | Info | Photo |
|---|---|---|
| 1 | Get the parts you need. Refer to this wiki page. | 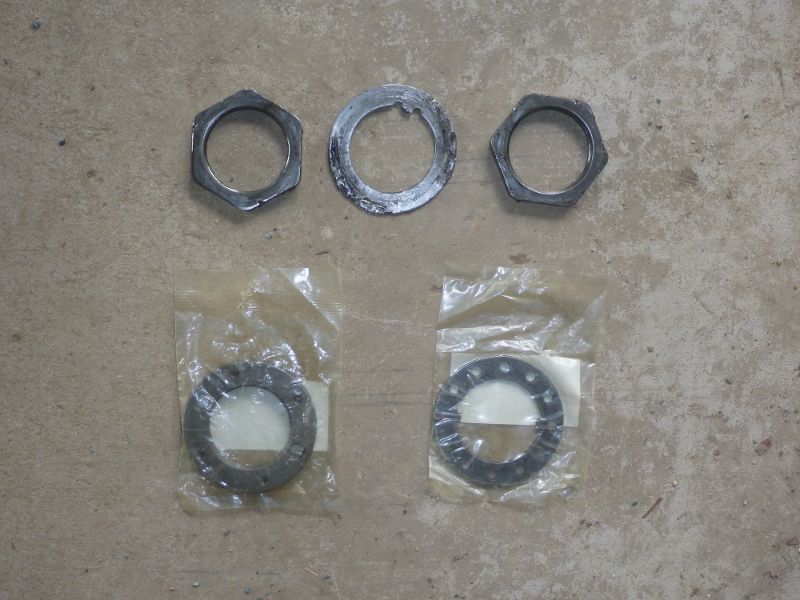 |
| 2 | Get the tools you need. You may need a 52mm socket for removing the lock nuts. | 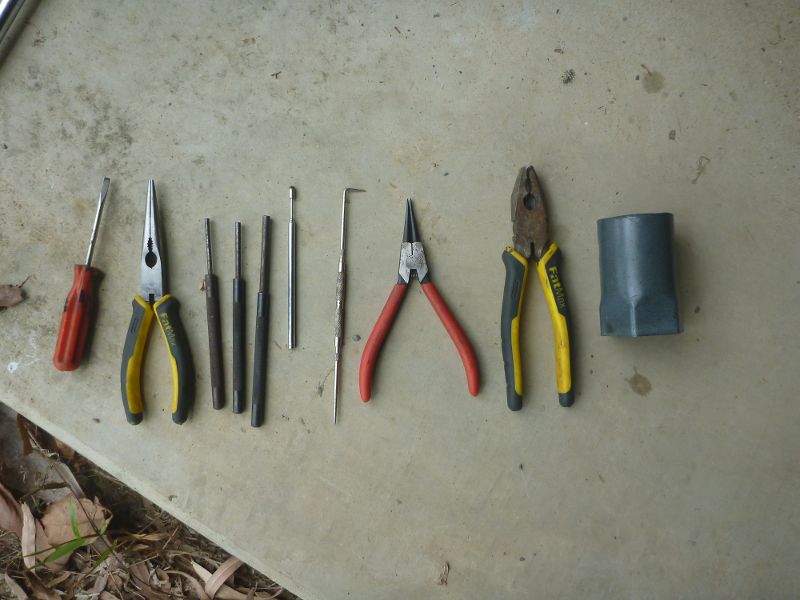 |
Dismantle
| Step | Info | Photo |
|---|---|---|
| 3 | Remove the freewheeling hub. Nothing difficult here just undo the six bolts with an 8mm hex bit and ratchet. There is also no need to remove the wheel. |
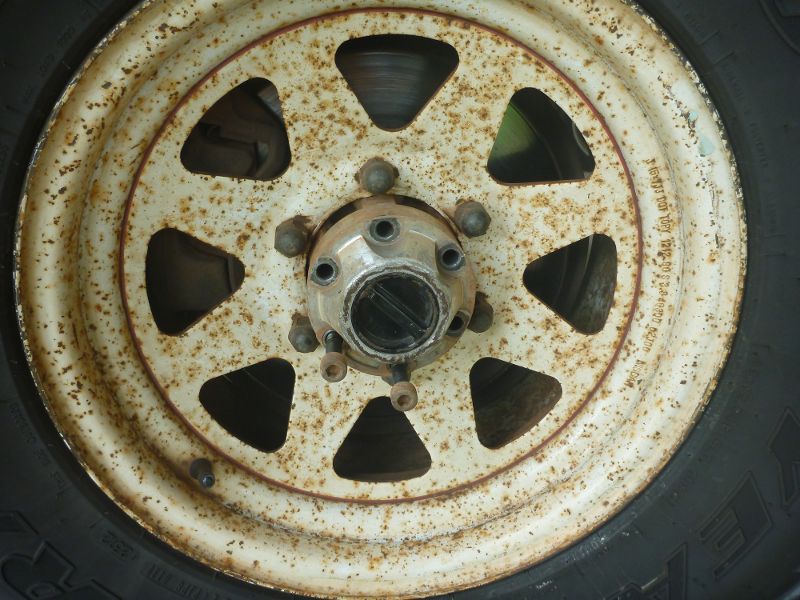 |
| 4 | Remove the hub locating ring. |  |
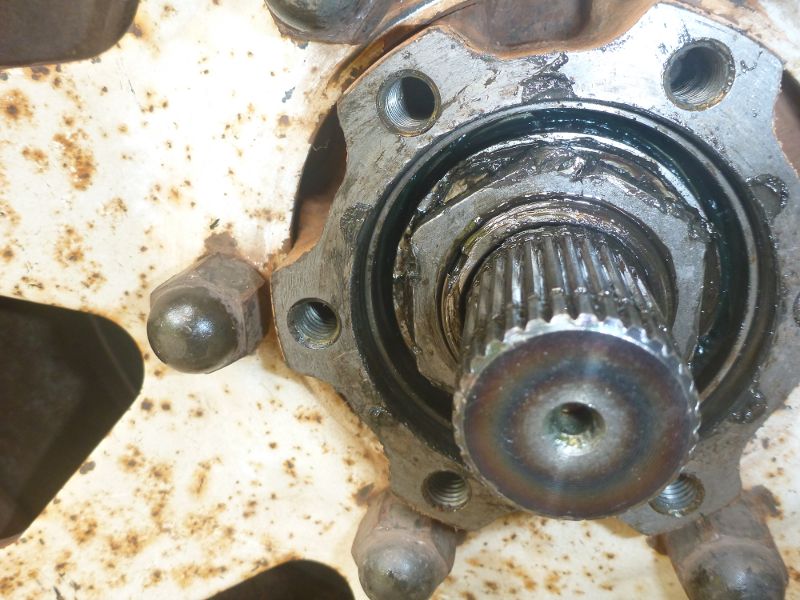
| 5 | Remove the circlip. | 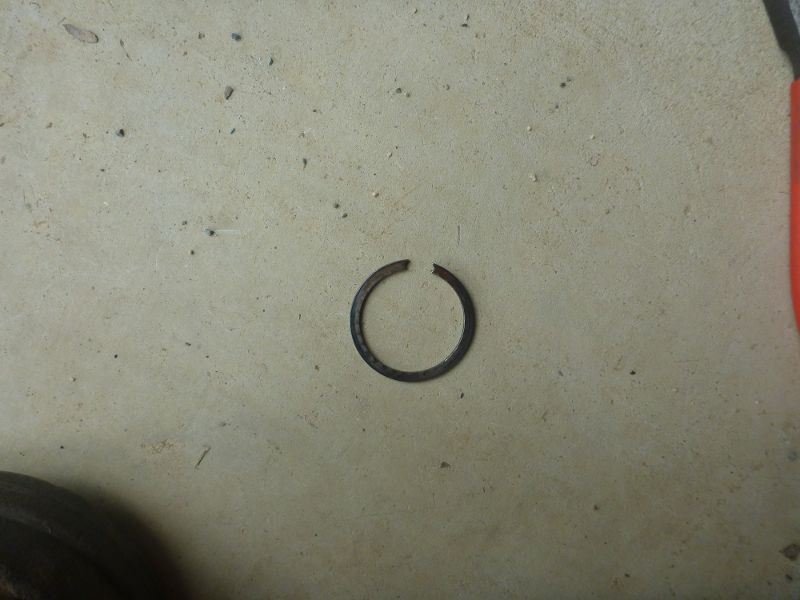 |
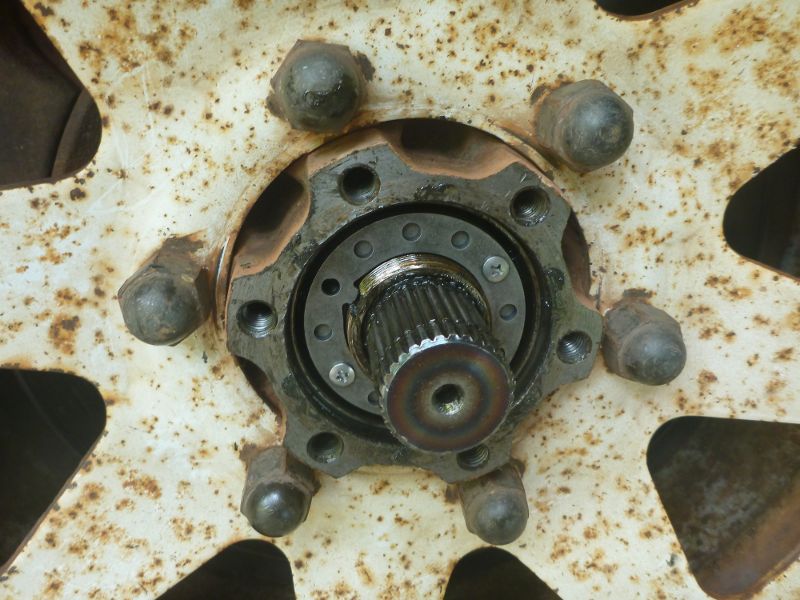
| 6 | Remove the freewheeling clutch gear (slides off). | 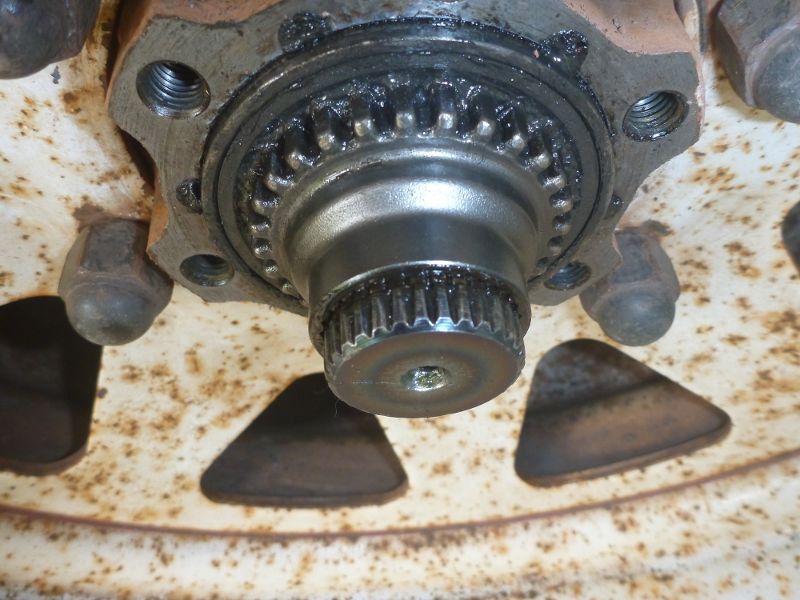 |
| 7 | Straighten out the lockwasher tab for the outer locknut. You can see the tab on the left of the nut. I used a pin punch and hammer to flatten it out. |
 |
| 8 | Remove the outer nut. I had bought the hub socket so used that but it was not really necessary as the nut was only hand tight and a couple of taps with the pin punch and hammer would have loosened it. |
 |
| 9 | Remove the lock washer. I found this the most frustrating as it kept getting jammed on the thread and there’s really not a lot of room to get hold of it. Using a magnetic pickup and long nose pliers for one side it came relatively easily but the other I had to get a small screwdriver to lever it out. |
 |
| 10 | Remove the inner nut. | No photo, same as #8. |
Install
| Step | Info | Photo |
|---|---|---|
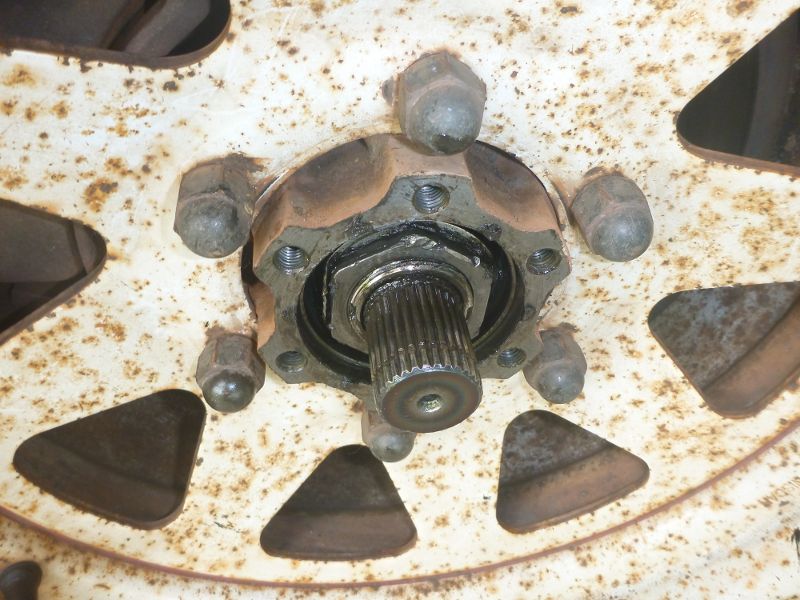
| 11 | Put the GU locknut on. Torque to 120 lb/fts. |  |
| 12 | Put the lock washer on. You need to have it so that holes in the washer line up with the two threaded holes in the locknut. So you may have to take it back off and tighten the locknut some more. |
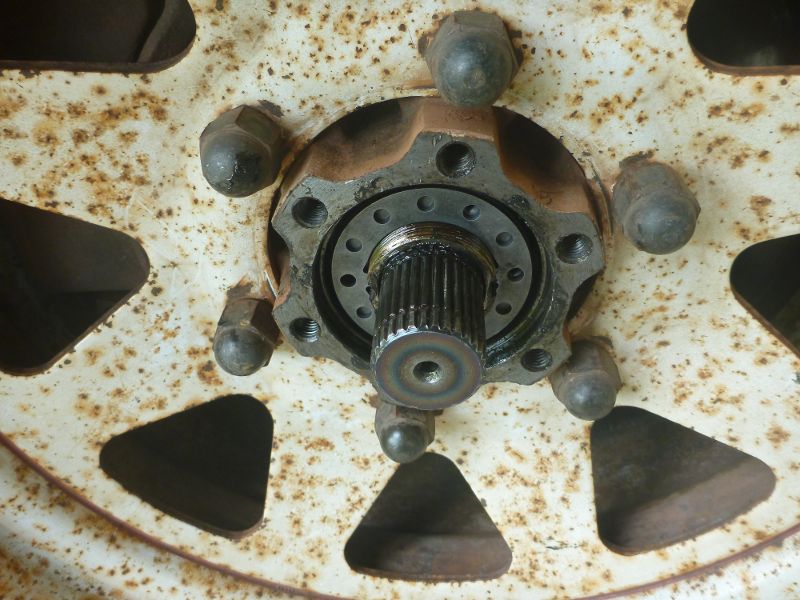 |
| 13 | Put the two screws in. I put low strength thread locker on these as probably not a good idea for them to come loose. The standard nissan ones are 4mm x 6mm phillips cheese head set screws really easy to strip the head. I’m going to find some hex socket head set screws to replace them. |
 |
| 14 | Put the freewheeling hub locator in. | 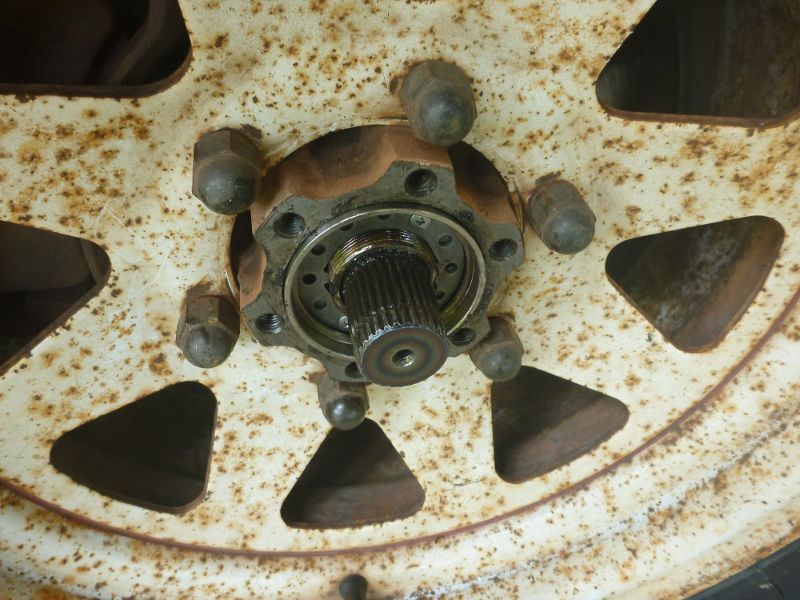 |
| 15 | Put the freewhelling clutch gear on. | 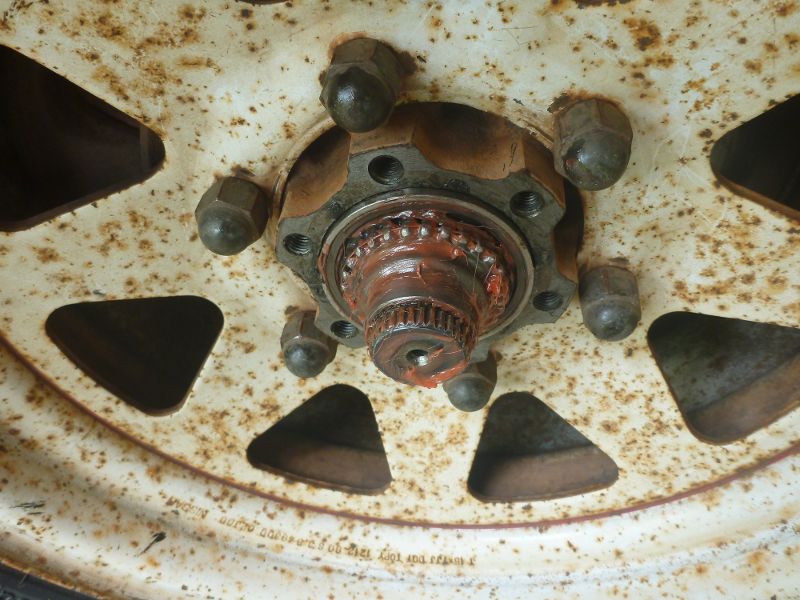 |
| 16 | Replace the circlip. | No photo. |
| 17 | Replace the freewheeling hub outer. | 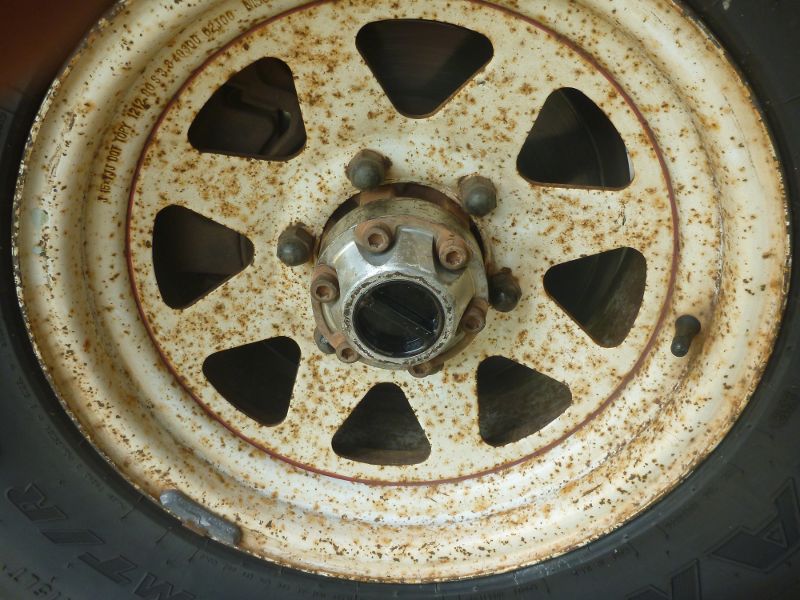 |
Additional MQ Specific Information
Installation tips were provided by Patrol4x4 user DiscoMuzz in this thread: http://www.patrol4x4.com/forum/nissan-patrol-mq-mk-12/mk-front-hub-rebuild-help-needed-please-55756/
The GU locking ring comes with two locating tabs. If you use it on a MQ you may need to file one of the tabs off. The ring is a pin type. You will need to buy or make a spanner to tighten correctly, although the mechanic at the local dealer reckons he just uses the old screw-driver-in-the-hole-and-whack-it method to get tension (by the way, the correct torque is 120ft/lbs or TWICE the torque of your standard wheel nut - have fun) which is what I did. So, its ring, lock and then screw it together.