Replacement Seats
Table of Contents
Potential Problems
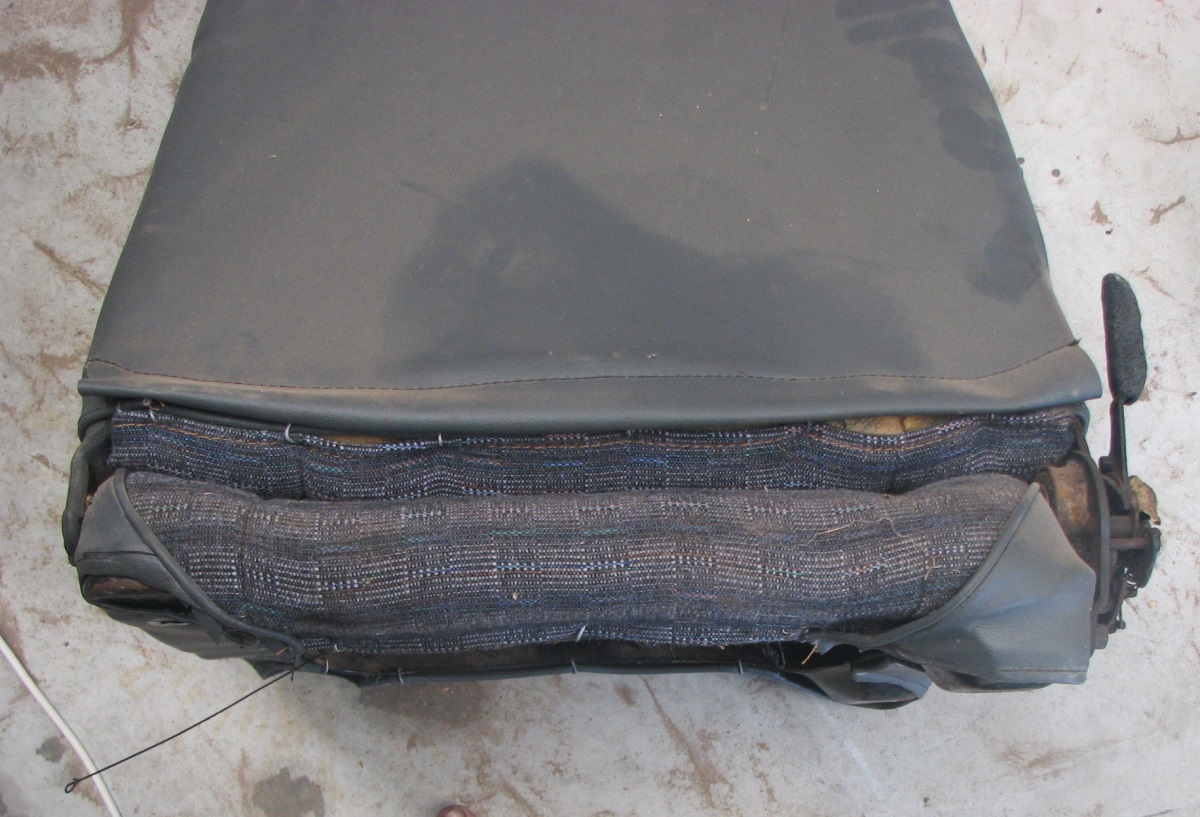
Existing mounts not level
The outside of an MQ seat base is thicker than the inside, due to the transmission tunnel height. If you plan to use the existing rails, you will need to ‘make up’ the difference.This could be achieved using some square/rectangle tube between the seat and rail.
The photos below show the problem. The first picture shows how the outside edge (right) is thicker, and what a VN commodore seat base looks like on the MQ rails.
 |
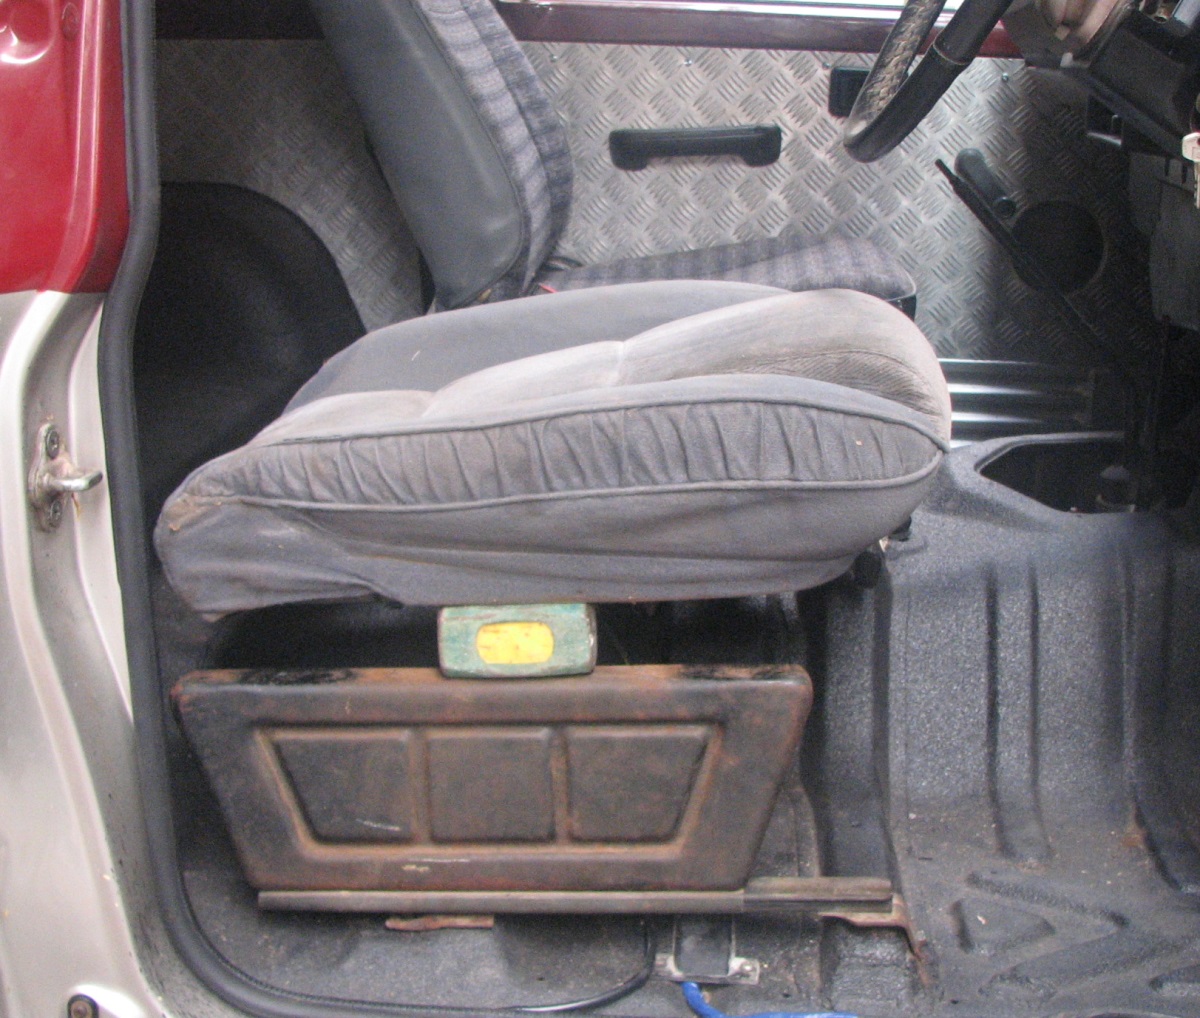 |
Steering wheel to seat distance
Some seats are so thick that the distance between the seat and stearing wheel becomes too hard to squeeze between (and potentially nut-breaking when offroad!). This can be observed with the commodore seat picture above. Appropriately modified mounts, or different seats could alleviate this problem.
Seat Options
Retrim Factory Seats
An often overlooked optioned, the factory seats could be retrimmed and extra padding added by the trimmer. This can be a bit costly, often $800+ for the pair, but could be a very easy and rewarding option.
Fit Factory Suspension Seats
Whilst moderately hard to find, some MQ were fitted with suspensions seats. These are reported to be quite effective when offroad.
Seats From Other Cars
TBA
Aftermarket Seats
TBA
How To Fit Seats
Each juristiction may have different rules and regulations to follow when fitting seats, including what is allowable and if engineering permits are required. One such publication in Australia is the National Code of Practice for Light Vehicle Construction and Modification (VSB 14). VSB 14: http://www.infrastructure.gov.au/roads/vehicle_regulation/bulletin/vsb_ncop.aspx The relevant section: http://www.infrastructure.gov.au/roads/vehicle_regulation/bulletin/pdf/NCOP7_Section_LK_Seating_and_Occupant_Protection_1Jan2011_v2.pdf
Some rules to follow include not using anything but steel spacers (ie no timber), and M8 8.8 bolts.