Combo Switch Rebuild
-
Tagged with:
- Electrical
Table of Contents
Thanks to Seehuusen on Patrol4x4 forum for dontaing the following from his old website.
The Problem(s)
The indicator had stopped working, and the hi-beams never worked in my car. So I decided to pull it all apart and rebuild the combo switch.
Parts Required
- 3 prong puller
- Philips head screw driver
- De-greaser
- Teflon Spray or Electrical Grease
- A bit of fine sand paper
How-To
First you pull the steering wheel off, if you have a sports steering wheel like me, then you’ll need a puller to get the boss-kit off
Once the combo switch is off, you can start pulling it apart. Please use a spot that isn’t messy, as there are small parts which can be lost (I actually nearly dropped a little metal ball down the sink).
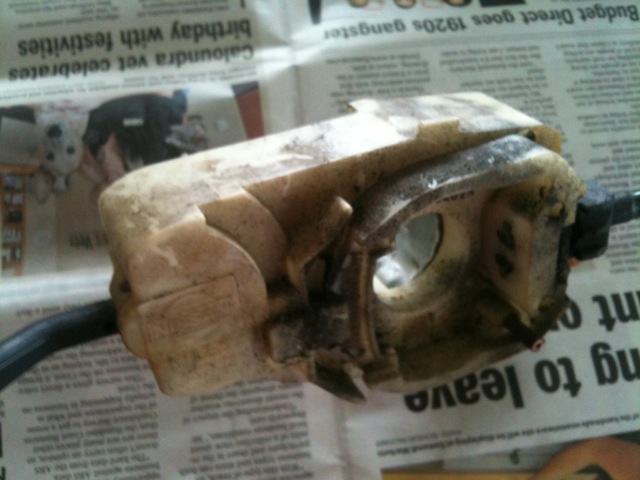
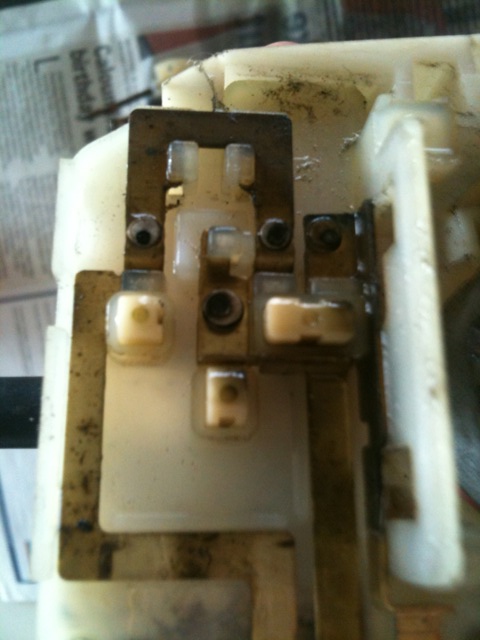
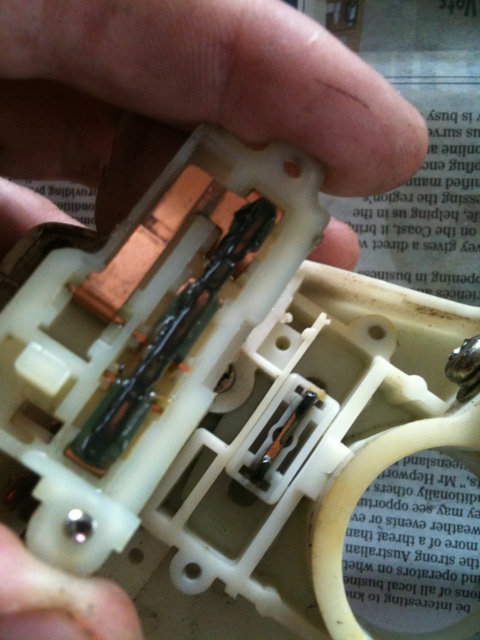
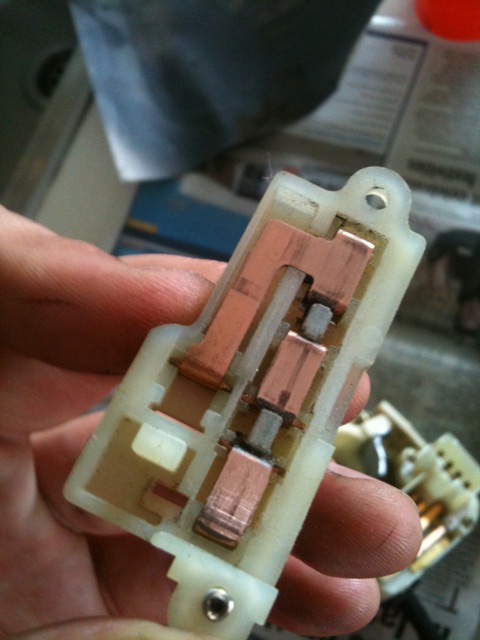
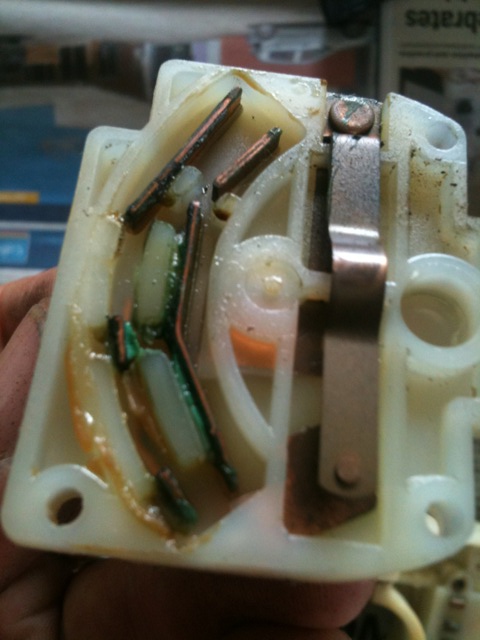
- Start by degreasing the whole unit, it’s going to have a whole heap of crud on it, if this has never been done before (image 1 & 2)
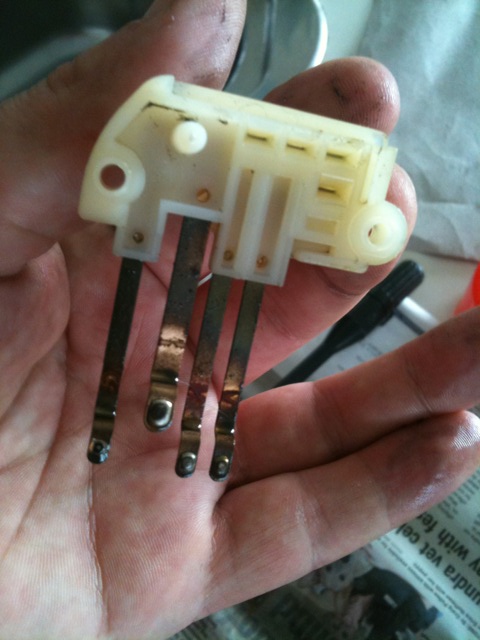
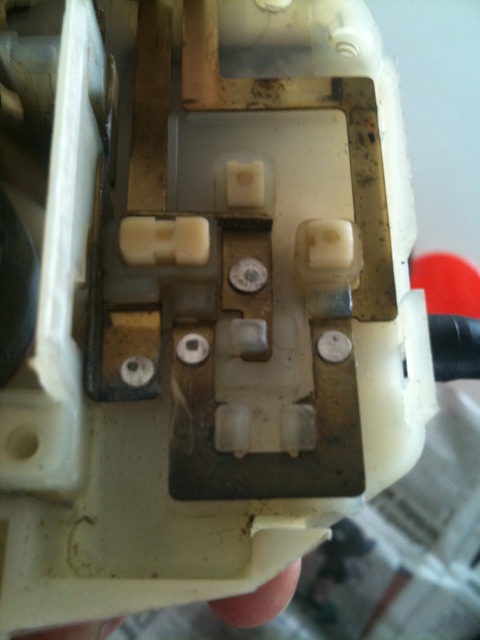
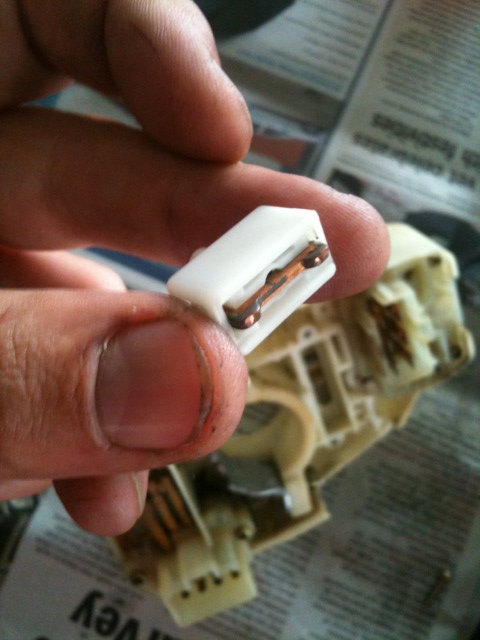
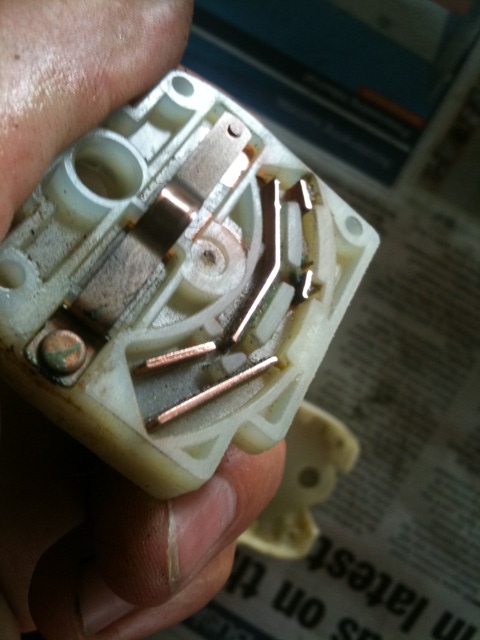
- Pull the black cover off on the back and un-screw the two screw holding the top assembly to the combo switch (image 3 & 4)
- give each of the little points a LIGHT sand to get rid of all the oxidation (image 5)
- re-assemble the headlight part of the combo switch
- unscrew the 2 screws holding the indicator assembly to the combo switch (image 6)
- Give that a bit of a sanding and put aside (image 7)
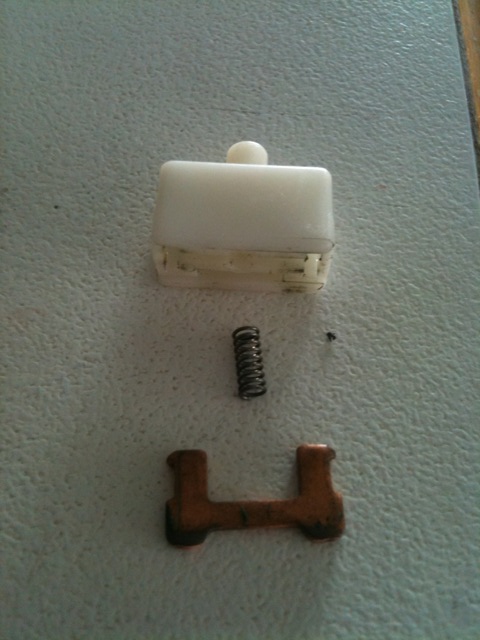
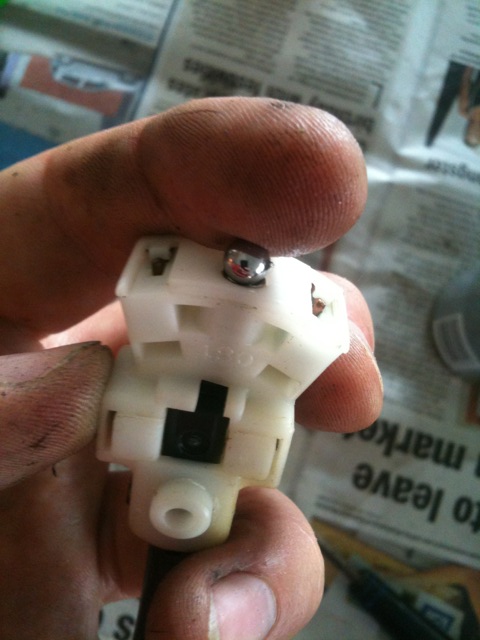
- Pull out the little bit, still in the combo switch. Be careful when you do this, as there is a spring and a metal ball on the other side, which you DON’T want to loose (image 8)
- This can be pulled apart carefully and given a light sand, put this aside (image 9)
- Now undo the washer mechanism from the combo switch (image 10 & 11). Again, here is another smaller ball, be careful not to lose it (image 12)
- give it all a light sanding and re-assemble (image 13)
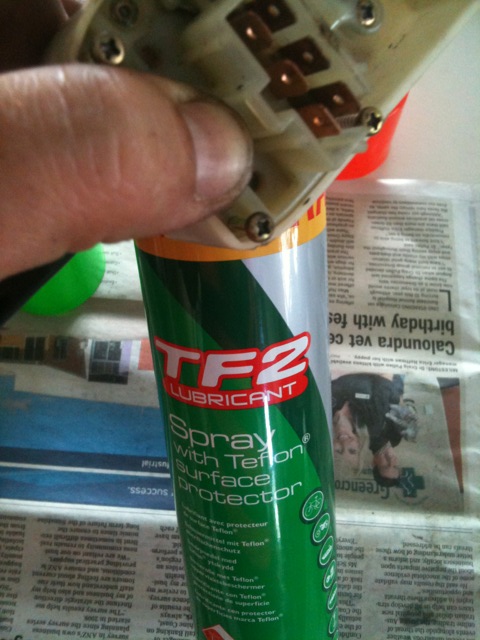
- Before re-assembling anything, all electrical parts have been given a spray with this Teflon spray. You can use this (image 14) or electrical grease with no fear of having to do this job again in the near future
 |
 |
 |
 |
 |
 |
 |
 |
 |
 |
 |
 |
 |
 |