Front Diff Rebuild - Stage 1 (Wheel Bearings)
-
Tagged with:
- Differential
Table of Contents
This wiki page is part of a ‘series’ on rebuilding the front diff. Also see Stage 2 (Swivel Hubs), Stage 3 (CV) and Stage 4 (Diff Centre).
This guide is not exhaustive and should be read in conjunction with the relevant section of the Service Manuals such as MQ Service Manual (1980) - Chapter 14 - Front Axle.
It is possible to upgrade the bendable lock-washer referred to below with the version from the GU Patrol. Please refer to this wiki page.
Pictures were supplied by Patrol4x4 user dattopimp in this thread: http://www.patrol4x4.com/forum/nissan-patrol-mq-mk-12/cv-wheel-bearing-replacement-warning-alot-pics-45874/
Remove
| Step | Info | Photo |
|---|---|---|
| 1 | Raise and support the front of the vehicle on axle stands. | 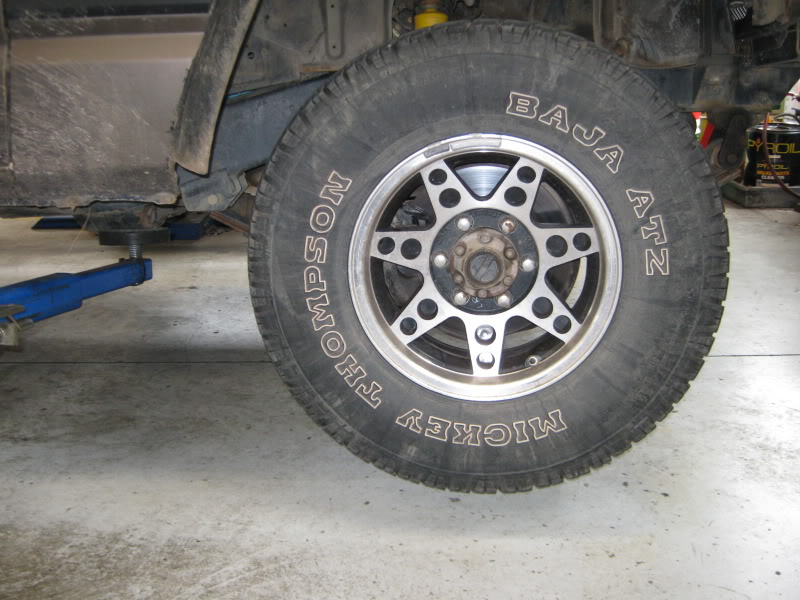 |
| 2 | Remove the front wheels. | 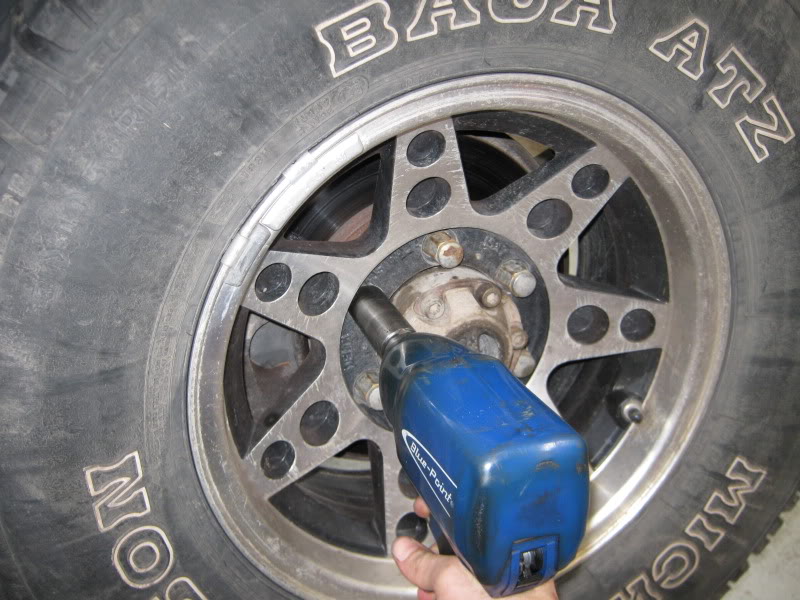 |
| 3 | Remove the free-wheeling hub and all associated components. For the standard Nissan manual free-wheeling hubs, proceed as follows. |
|
| 3.1 | Remove the free-wheel hub casing (6 bolts). You may need to knock it softly with a hammer to dislodge it. | 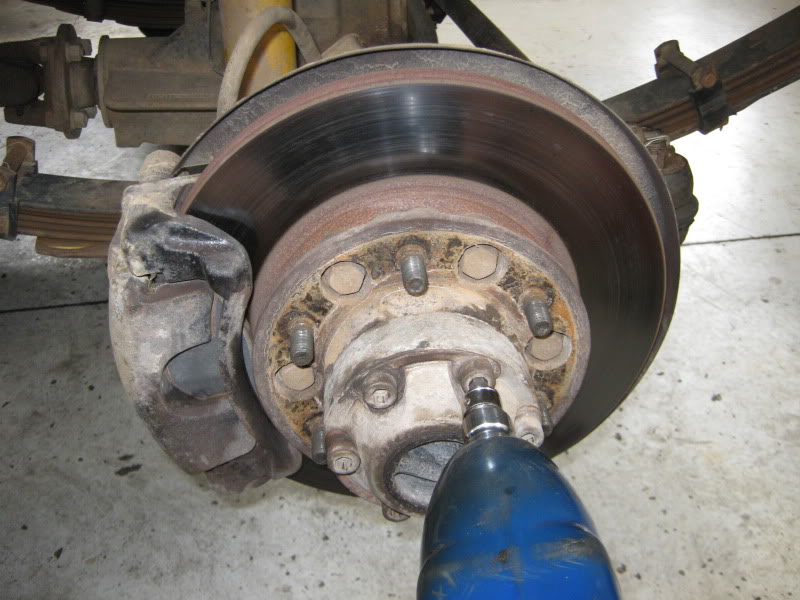 |
| 3.2 | Remove the c-clip from the CV, and remove the hub-clutch engagement ring. | 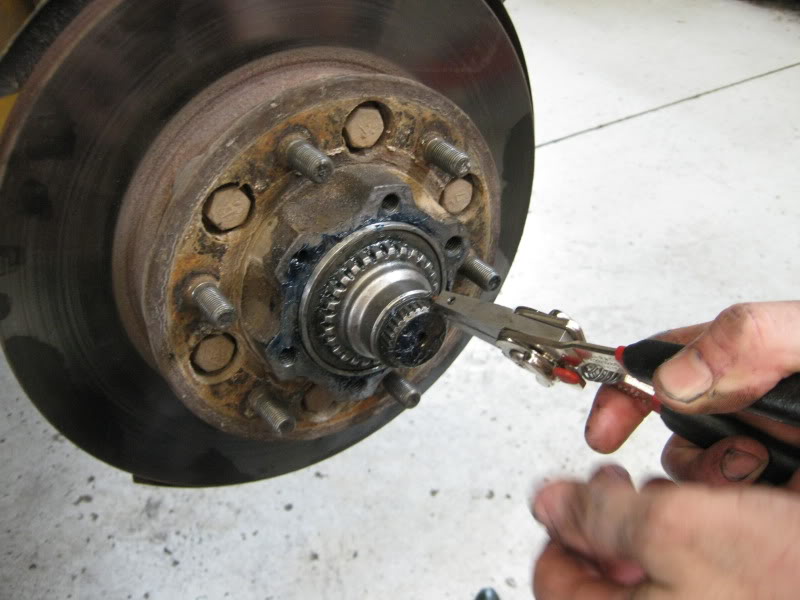 |
| 3.3 | Remove the free-wheel hub sealing ring from inside the ‘hub’. | 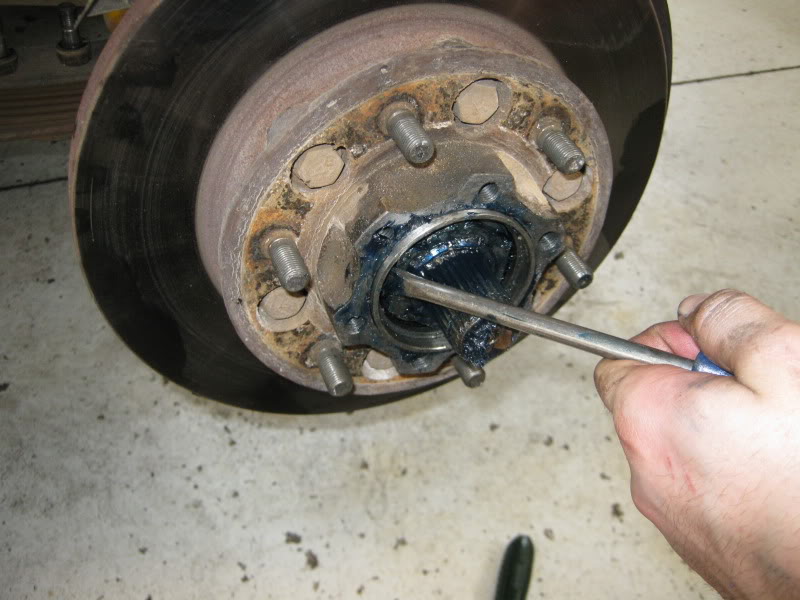 |
| 4 | Remove the 2x ‘hub’ to brake caliper retaining bolts. | 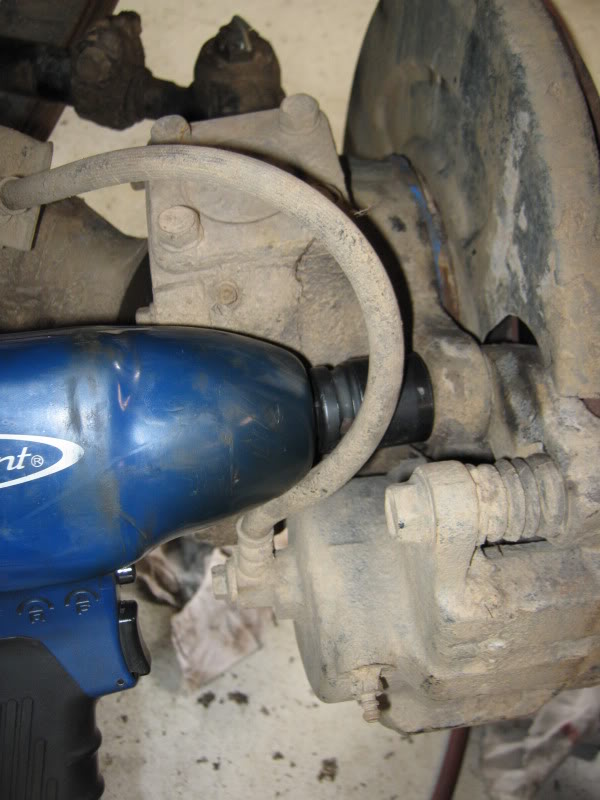 |
| 5 | Position and secure the caliper out of the way. | 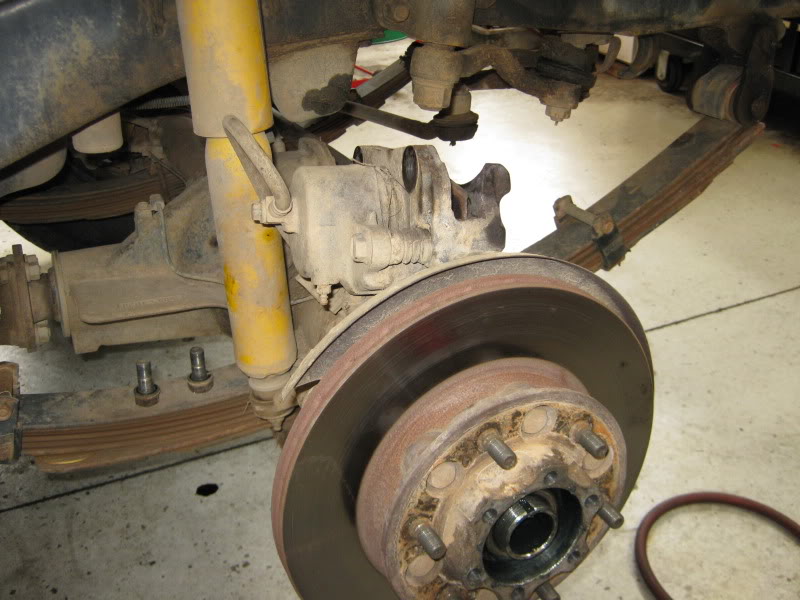 |
| 6 | Remove the outer 52mm bearing retainer nut from the spindle. You may have to bend/knock the edges of the underlying lock washer to do so. | 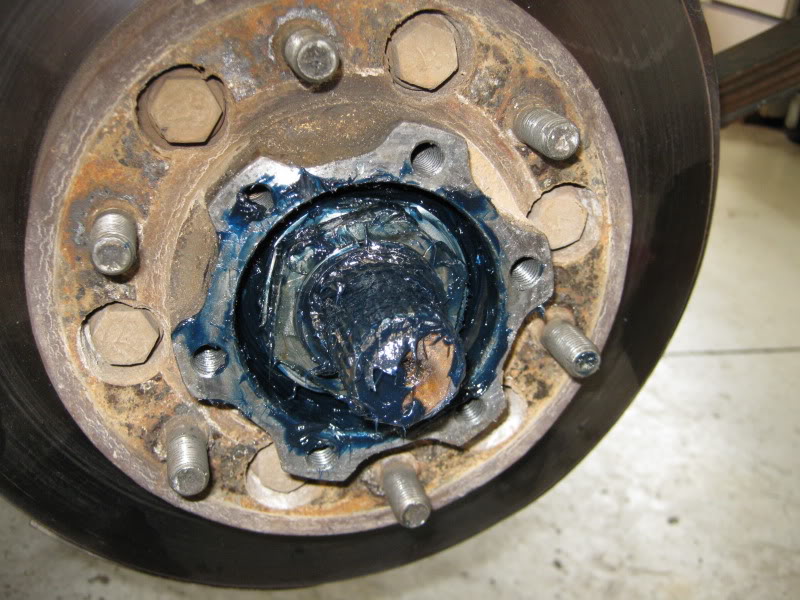 |
| 7 | Remove the lock-washer. | 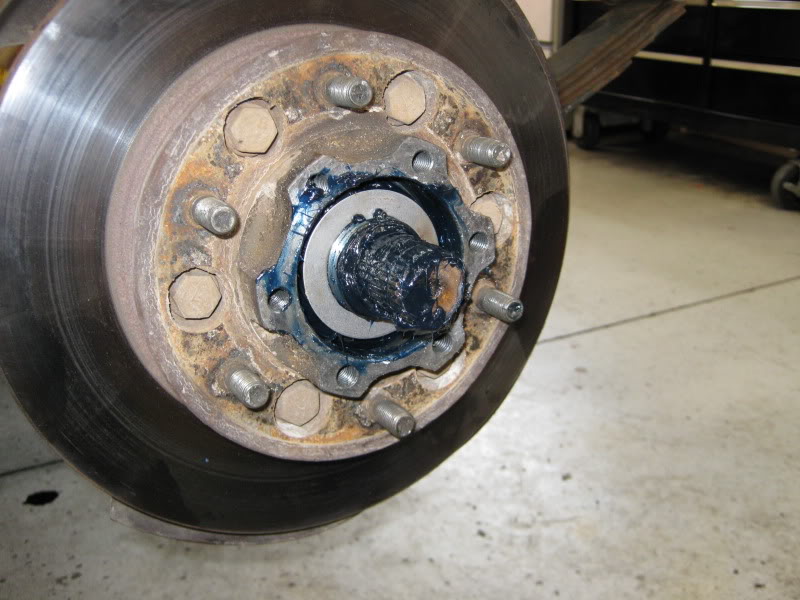 |
| 8 | Remove the inner 52mm bearing retainer nut from the spindle. | 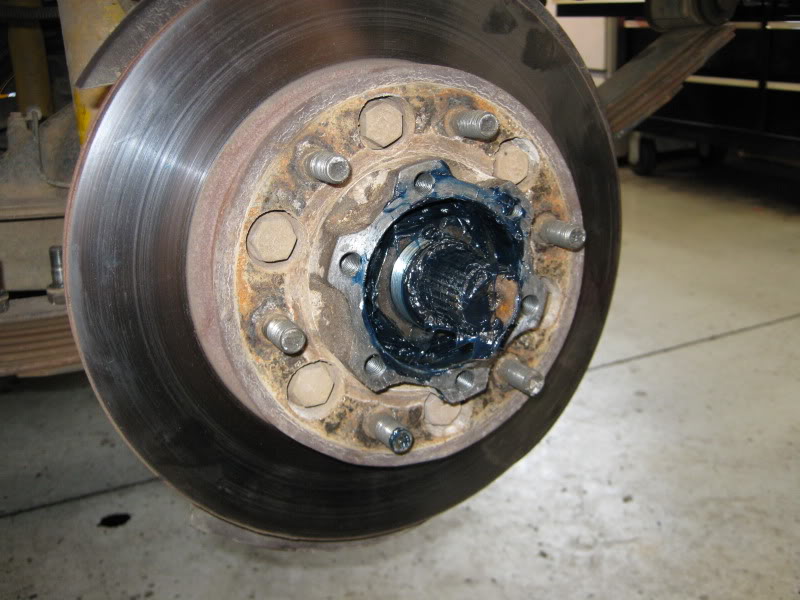 |
| 9 | Pull out the wheel bearing washer. | 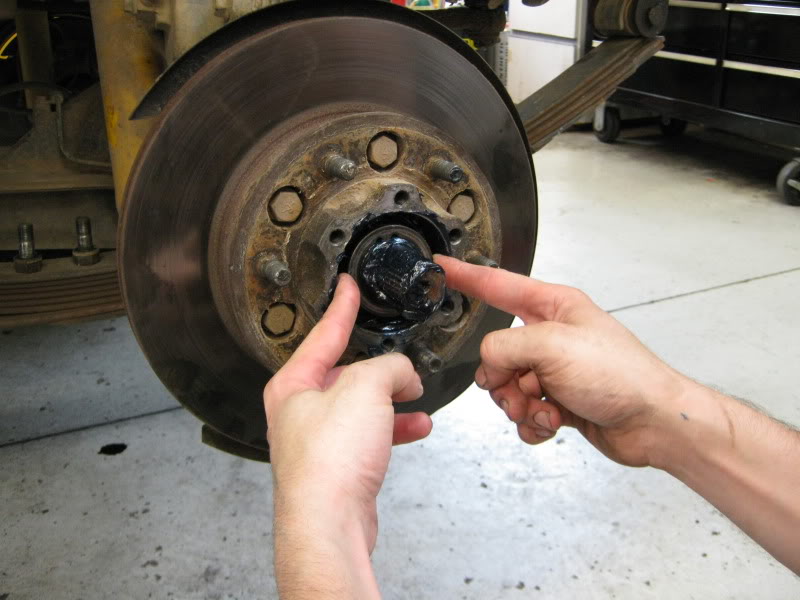 |
| 10 | Pull the floating hub with bearings still inside off the spindle, thus exposing the stub axle. | 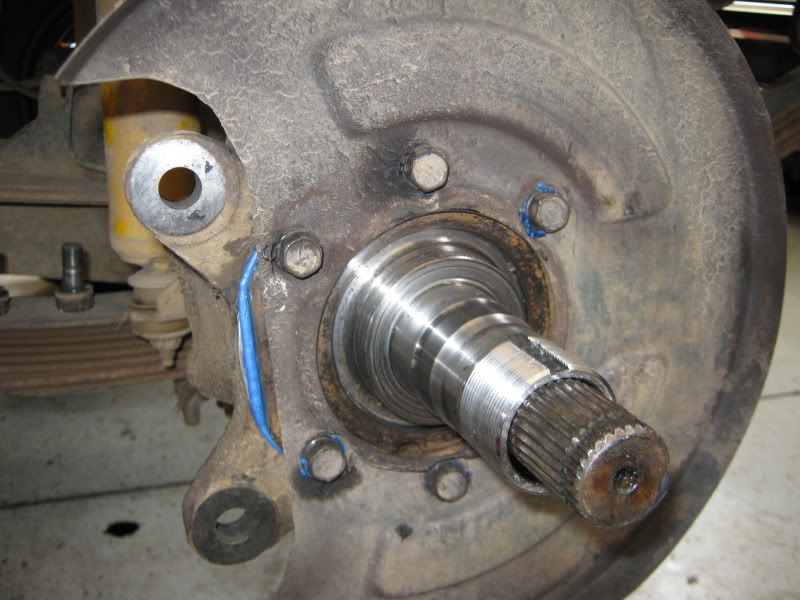 |
Replace & Repair
At this stage, it is also possible to replace the brake discs. If you intend to only repack your existing bearings, skip the steps regarding the bearing cups.
| Step | Info | Photo |
|---|---|---|
| 11 | From the back of the hub, remove the seal (lever out with a screwdriver or similar device). | 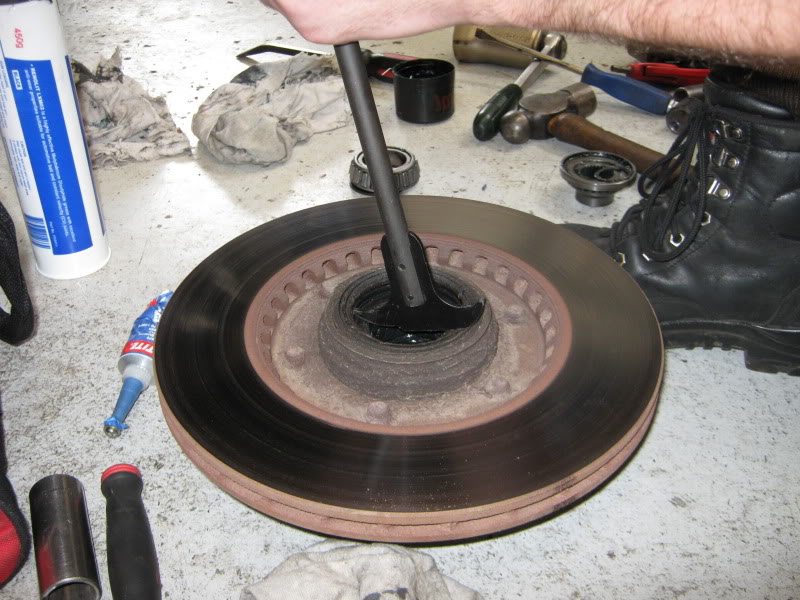 |
| 12 | Remove the bearings. | - |
| 13 | From the back of the hub, use a suitable punch/cold chisel and hammer out the small ‘front’ bearing cup. There are 2 notches in the hub that the chisel can strike through. | - |
| 14 | From the front of the hub, use a suitable punch/cold chisel and hammer out the large ‘rear’ bearing cup. There are 2 notches in the hub that the chisel can strike through. | - |
| 15 | Clean all the old grease out of the hub. | - |
| 16 | Carefully insert the new bearing cups, with the smaller opening of the cup inserted first. Tips at bottom1 | - |
| 17 | Pack the bearings with grease. | 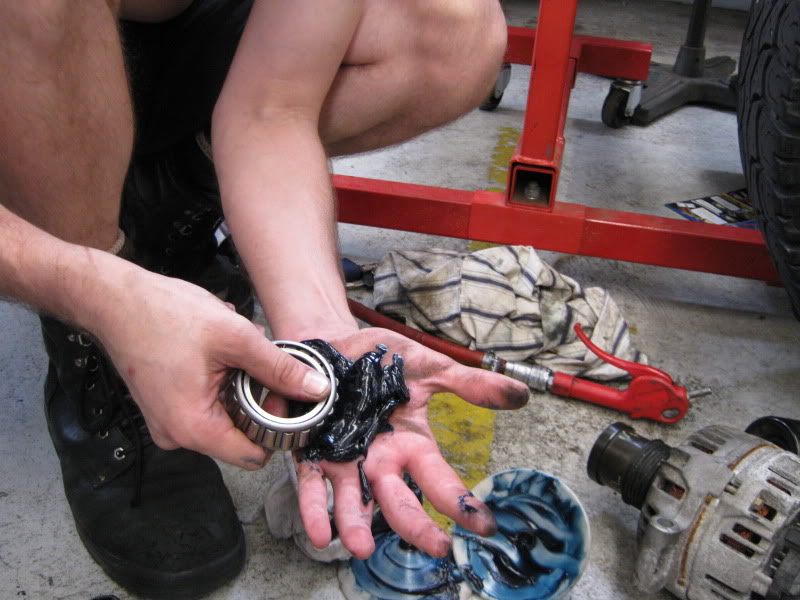 |
| 18 | Insert the bearings into the hub. | - |
| 19 | Insert the seal to the back of the hub. | 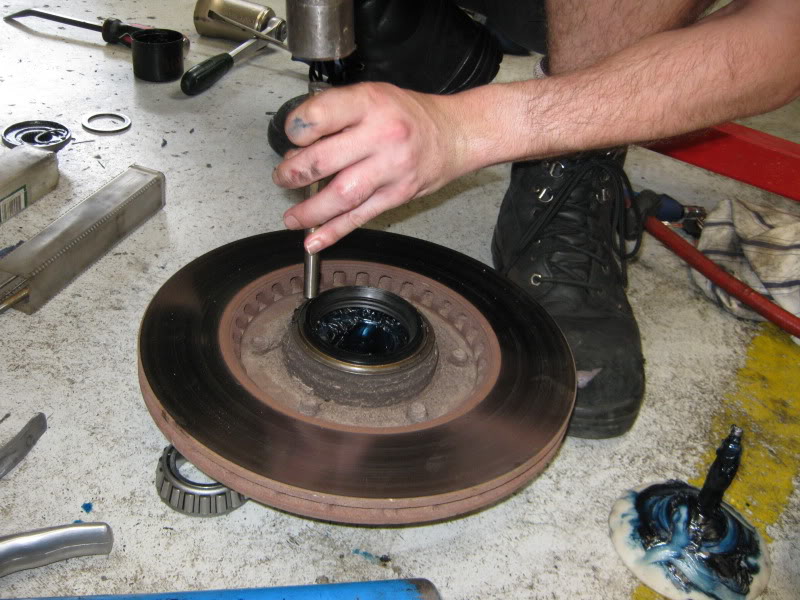 |
Assemble
| Step | Info | Photo |
|---|---|---|
| 20 | Lightly grease the spindle. | - |
| 21 | Put the floating hub (with bearings inside) onto the spindle. | - |
| 22 | Lightly grease the wheel bearing washer and put it on the spindle. | |
| 23 | Screw on the inner bearing retainer nut until the disc/hub is very hard to turn, then back it off slightly. | |
| 24 | Put the lock washer onto the stub axle. | |
| 25 | Screw on the outer bearing retainer nut until it is firm. | |
| 26 | Attach the brake caliper (2 bolts). Refer to the service manuals for torque values. | |
| 27 | Attach the wheel. | - |
| 28 | Holding the wheel at the 12 and 6 o-clock positions, shake the wheel back and forth to check for play. If there is, tighten the bearing retainer nuts to suit. | - |
| 29 | Bend the edges of the lock-washer over the nuts. Ensure you bend some points forward and some backward, to lock both the inner and outer nuts. | - |
| 30 | Attach the free-wheeling hub and all associated components. Proceed as follows for the standard Nissan manual free-wheeling hubs. | - |
| 30.1 | Loosely insert the free-wheel hub sealing ring inside the ‘hub’. | - |
| 30.2 | Place the hub-clutch engagement ring on the end of the CV and attach the c-clip to retain it. | - |
| 30.3 | Attach the free-wheel hub casing (6 bolts). Torque the bolts to the value specified in the service manuals. | - |
| 31 | Check that the free-wheel hub engages properly, before lowering the vehicle. | - |
- The bearing cups are a press fit and will require hammering in. Ensure you do not damage the tapered face that the bearing rolls on. One effective method is to use the old bearing cup and place the small opening of the old cup onto the large opening of the new cup. Then strike the old cup with a hammer so that it drives down the new cup. When the new cup is fully seated, the old cup can be knocked out from the other side of the hub, striking its exposed ‘lip’. This way, only the old cup is damaged. [return]